

How To Repair Outdoor Concrete Walkway
A fresh, perfect surface for erstwhile physical and a uniform wait for new repairs.
Sponsored by Sakrete
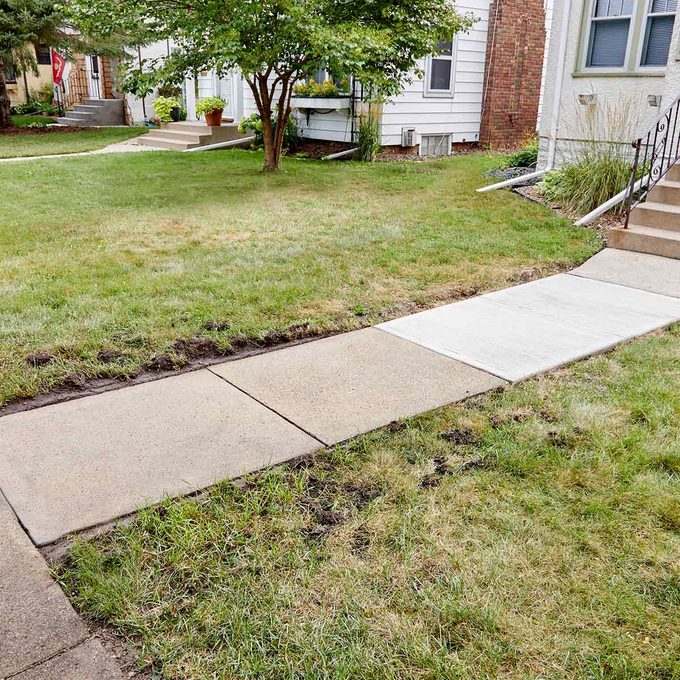
I recently replaced a department of sidewalk using Sakrete concrete mix. It was a huge improvement. But next to the new concrete, the former sidewalk looked kind of shabby—pitted, flaking and worn. Plus, the erstwhile concrete was a darker gray.
Before:
Later:
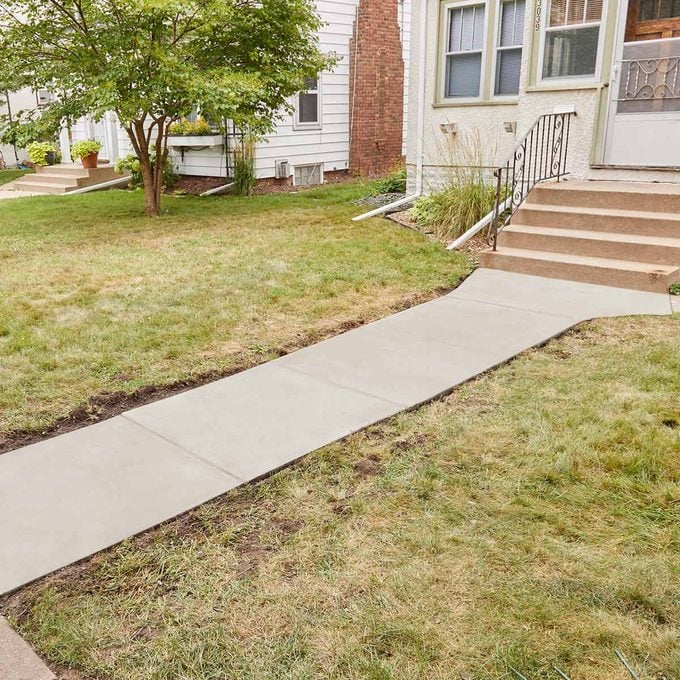
I'm all about matching the one-time with the new. Sakrete Flo-Coat Physical Resurfacer allowed me to do simply that, and it added a durable, perfect surface to the entire sidewalk.
This was my start fourth dimension at using Sakrete Flo-Coat Concrete Resurfacer, and in that location was a learning curve. I'll pass along some lessons below.
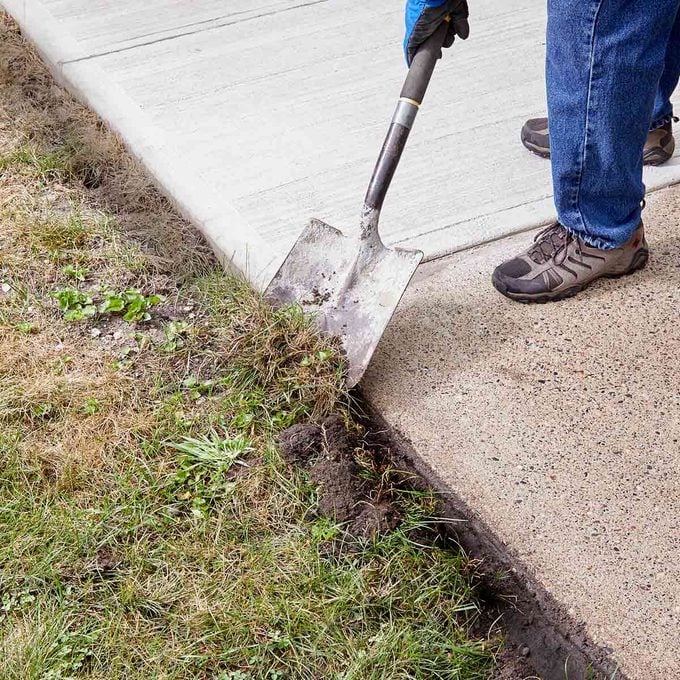
To prep, I ability-washed the old concrete and the new, which had cured for a month. The next day I edged along the sidewalk with a shovel to clear away overhanging grass and create a pocket-sized trench. A deeper, wider trench would have been much better (more on that below).
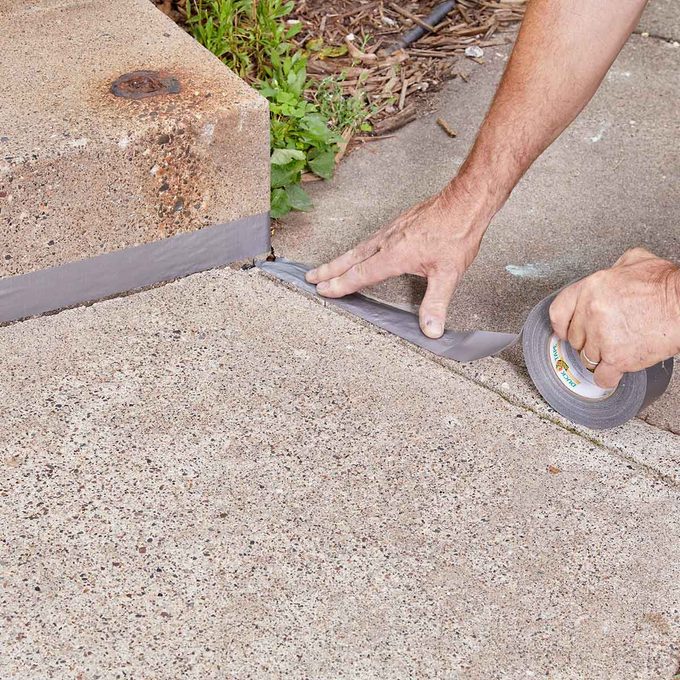
To protect areas I didn't want to coat, I masked the adjoining physical surfaces with duct tape. Duct tape adheres well to concrete. Masking tape doesn't.
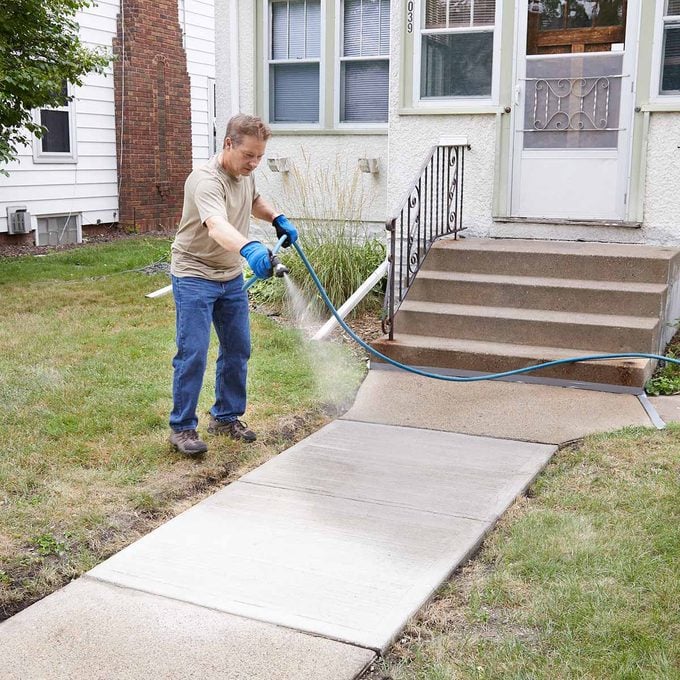
Surfaces that are dry quickly rob a mix of water and inhibit easy spreading. I misted the entire sidewalk before I began applying the product. I made certain information technology was thoroughly damp simply there was no puddling. This is disquisitional.
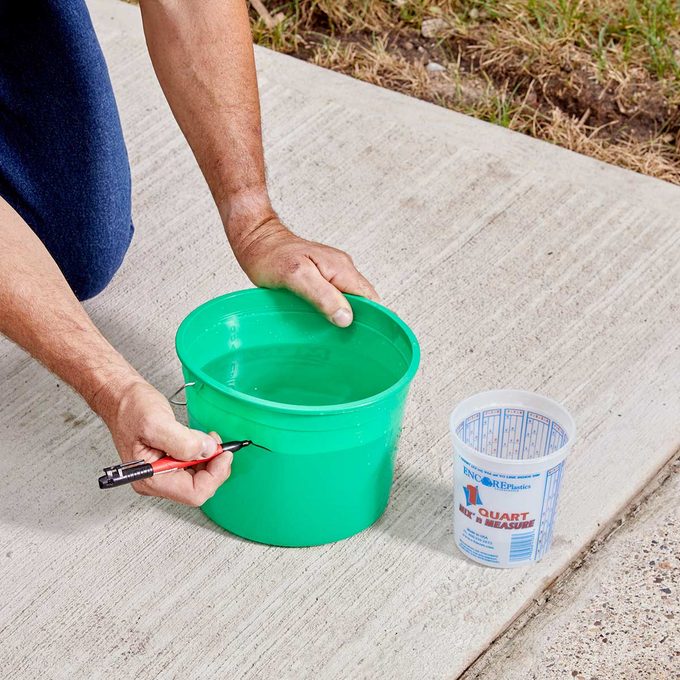
I marked a container with a blackness line to indicate the 3-ane/two qts. of cool water required for each twoscore-lb. bag. I wanted to make sure my mix was uniform from ane batch to the next.
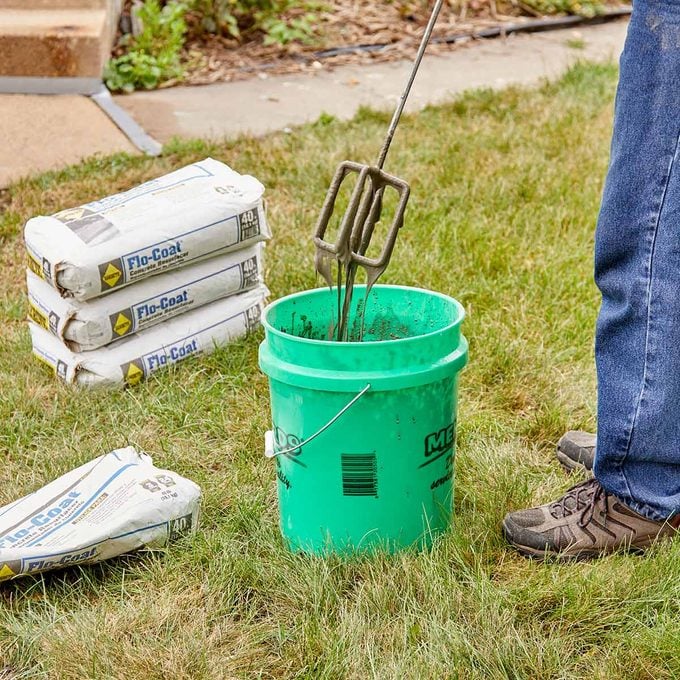
After adding about 3 qts. of the water to a bucket, I slowly introduced the Sakrete Flo-Coat Concrete Resurfacer while mixing with a heavy-duty drill. I and then poured in the last of the h2o and composite the mix thoroughly. I tried to go on the air bubbles to a minimum. Afterwards letting the mix slake for a couple of minutes, I mixed the contents one more fourth dimension.
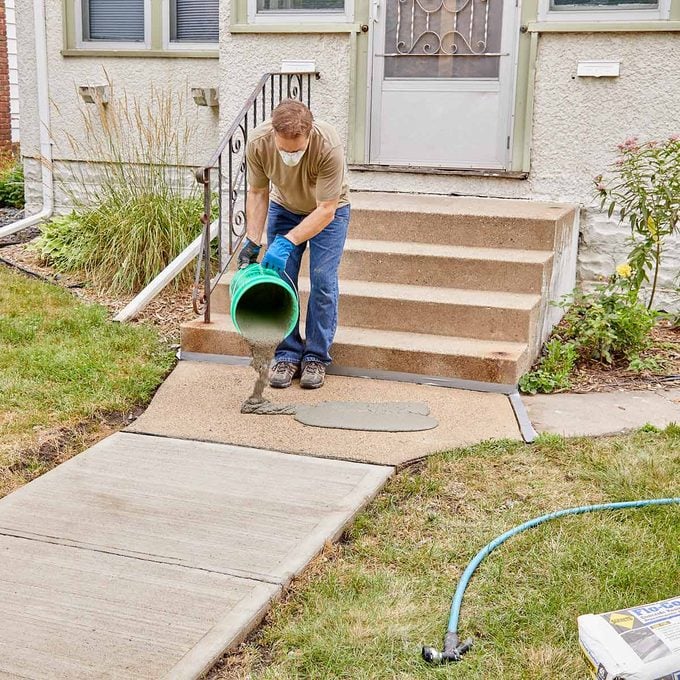
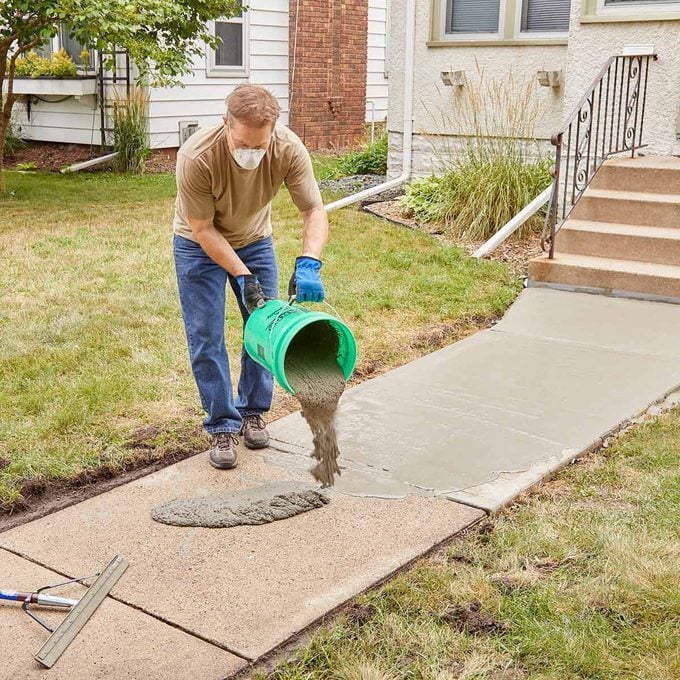
I poured resurfacer across the commencement section, doing my all-time to distribute it evenly over the area.
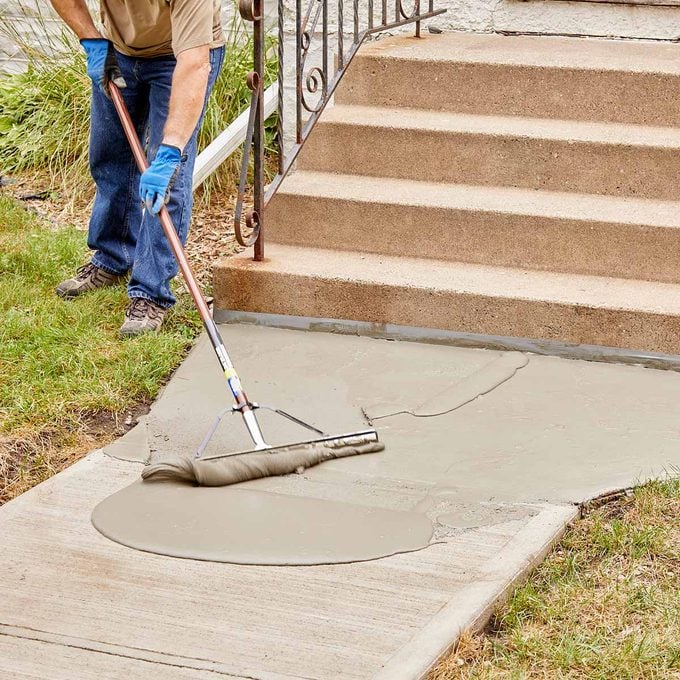
I used a squeegee to spread the mix beyond the entire surface to a depth of just over ane/8 in. Although I used the duster to push and pull the mix across the section, I e'er finished by pulling across the slab in the same direction.
I continued this process until I had coated the entire walk. Like whatever cement-based product, Flo-Coat has limited working fourth dimension. To avoid interruptions, I had a helper mix additional buckets while I kept pouring and spreading.

Equally the coating began to harden, I used a mortar rake to re-form the control joints. If you leave a joint filled, you risk cracks in the future.
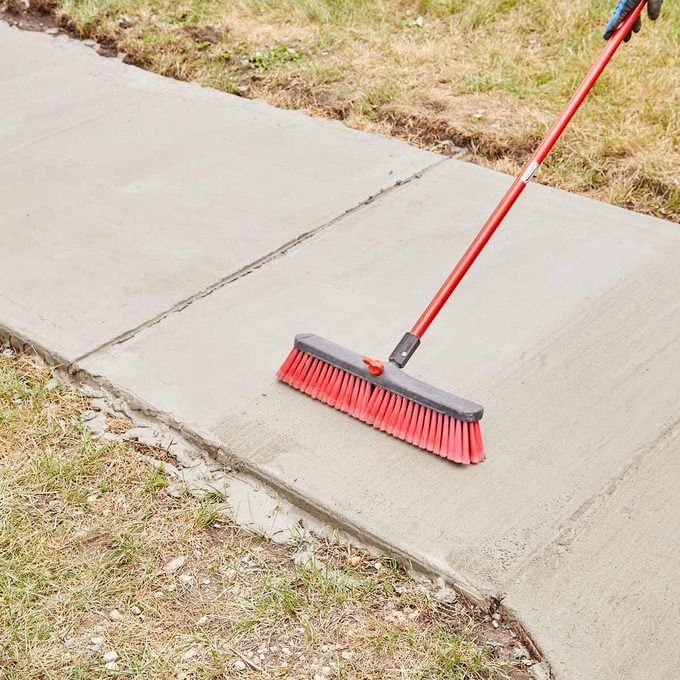
For meliorate traction, I applied a broom cease using a soft-bristle push broom. I institute that brooming within 15 minutes of the initial cascade worked best, just this depends on the temperature and humidity. I watched the surface and broomed when the sheen evaporated. I had to continue moving because once Sakrete Flo-Glaze Concrete Resurfacer begins to harden, it becomes difficult to broom.
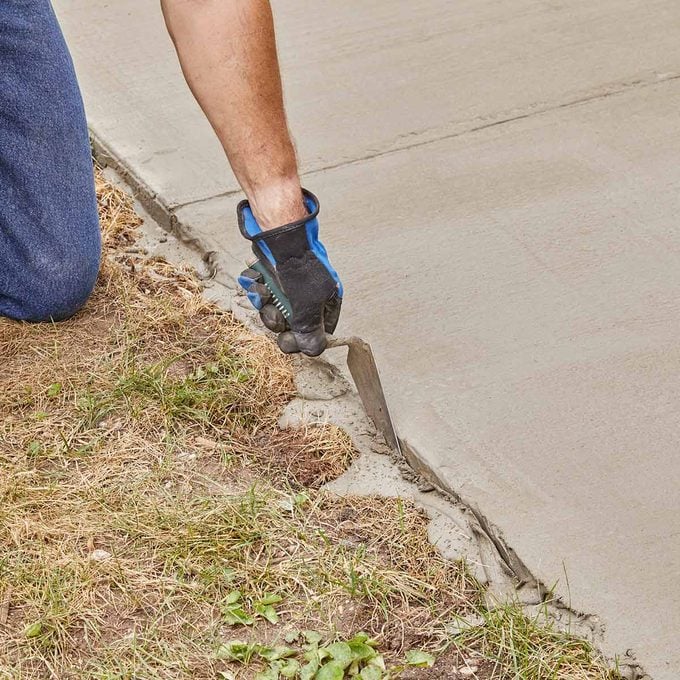
When the mix was firm but non difficult, I used a trowel to scrape abroad any excess along the edge of the concrete. I didn't want this material to harden because it would be tedious to remove after.
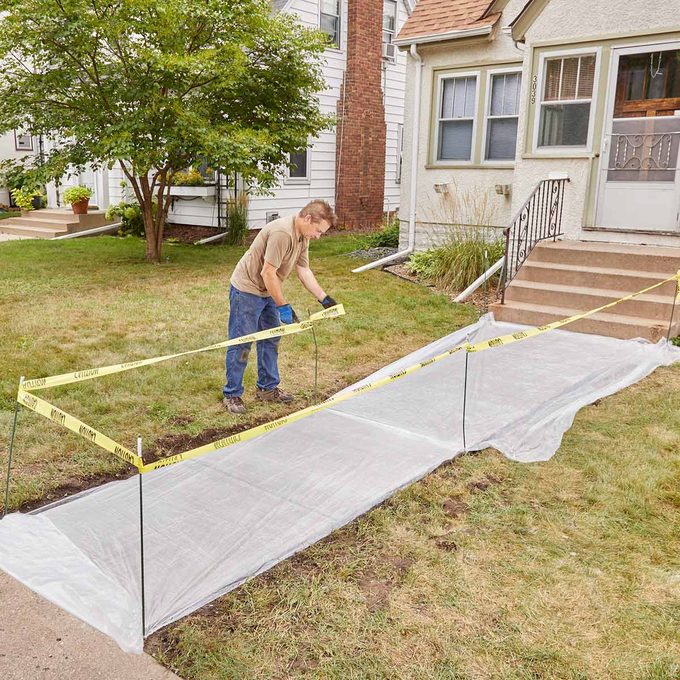
Finally, I covered the sidewalk with plastic to proceed the Sakrete Flo-Coat Physical Resurfacer clammy and to help in curing. This ensures skilful bonding and a strong surface.
Lessons learned
Skilful grooming is critical. Sakrete Flo-Coat hardens fast. Working time for spreading is near 10 minutes. I was well prepared and had a helper to continue the mixing process while I applied the coating. I had no bug, just an unexpected snag could have caused big headaches.
Trench forth edges. My narrow trenches weren't enough. I had to carefully spread along the edges to avoid dragging dirt particles in with the duster. I missed coating some edge areas as a result and had to bear upon them upward with a trowel. Make your trenches at least 4 in. wide and a couple inches deep.
A redo is piece of cake. My first coat wasn't quite perfect. The areas that I had troweled were axiomatic, and my broom cease was very inconsistent. Since Sakrete Flo-Coat Concrete Resurfacer can exist applied in coats to achieve up to 1/2 in. in finished thickness, I just applied a second i/viii-in. coat. With some feel under my belt, the second coat took only over an hr. (The start took twice as long.) And the consequence was absolute perfection.
Learn more nigh Sakrete Flo-Glaze Concrete Resurfacer
— Tom Dvorak, Contributing Editor

How To Repair Outdoor Concrete Walkway,
Source: https://www.familyhandyman.com/article/resurfacing-a-sidewalk/
Posted by: monzoforeplarks.blogspot.com
0 Response to "How To Repair Outdoor Concrete Walkway"
Post a Comment